Capture the Perfect Eclipse Photo
July 26, 2017
 Heliocentricity, an introductory blog series, explores amateur astronomy through various astronomical equipment, celestial objects, and step-by-step tutorials. Join me as I explore topics ranging from beginning deep sky astrophotography to starting a local star party.
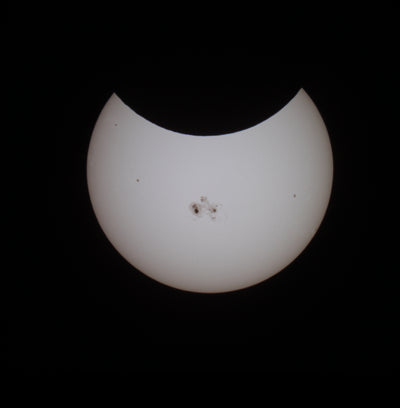
Chirping birds fall silent as the immense shadow sweeps darkness over the morning sky; coronal winds stream out of the dark void; crowds of enthusiasts stare upward. This scene accompanies all totalities, but the Great North American Eclipse will allow millions—including myself—to witness their first starry noon sky. Two years ago I discussed the anticipated event with a seasoned eclipse watcher. His words of advice: “Don’t bother photographing the eclipse. The scene is far too beautiful to waste on a few blurry images.” As a planetary astrophotographer, though, I held onto a desire to capture the incredible event, and I would find a way to do so.
While astronomers image the sun year round, eclipse images contrast heavily from normal solar astrophotography. Time-lapse videos demonstrate swift lunar movement across the solar disk; fast, single-shot photographs catch solar atmosphere peaking through lunar valleys; and composite captures combine the beauty of the new moon, corona, and prominences. Future Heliocentricity posts will explain hydrogen alpha and white-light photography, the two main solar imaging techniques, but first time viewers benefit most from their solar equipment through visual observation alone, as the most stunning eclipse images need no filtration at all.
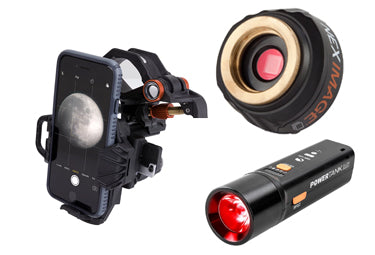
Simply explained, white light filters display an almost blank solar disk with occasional sunspots, while expensive h-alpha telescopes reveal the sun’s upper chromosphere with flares, prominences, filaments, and several other active features. Celestron offers their EclipSmart Series with tinted white light filters that convert nighttime telescopes into personal solar observatories to view the hours before and after totality (the partial eclipses). With steady hands, owners of white light filters can snap quick phone images through an eyepiece or directly through a camera (whether phone, digital, or DSLR) with a miniature white light filter blocking the camera lens. Yet, photographers must have caution, as, similar to human eyes, camera sensors also incur harm through direct exposure to the sun without proper filtration. For beginning astrophotographers, though, commonplace partial solar eclipses provide a chance to image incomplete lunar cover without losing the opportunity to watch the moon slowly slip across the sun until totality.
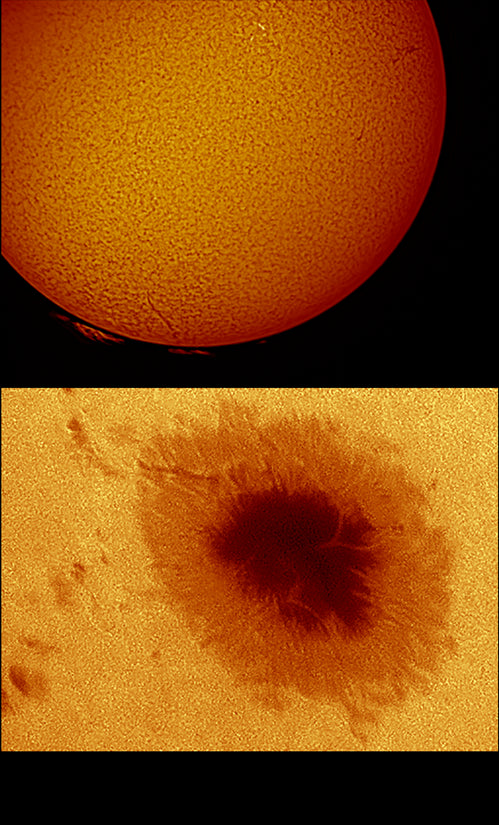
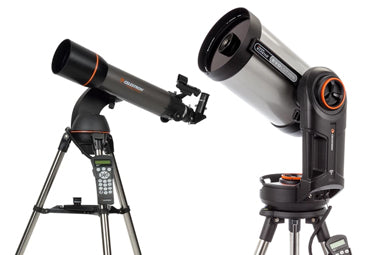
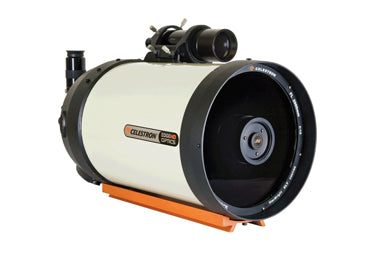
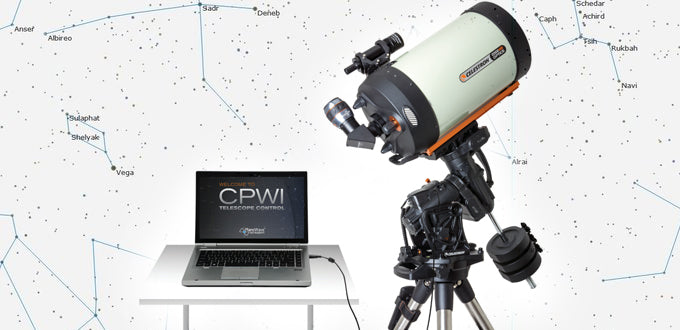
The most memorable eclipse photographs require no filters at all—only a DSLR matched with a wide-field telescope or telephoto lens. Both designated astrophotography mounts and standard telescope mounts offer highly automated imaging, but depending on the choice of optical tube (either a small telescope or telephoto DSLR lens), mount-to-camera connections vary. With a telephoto lens, a camera can “piggy-back” on the top of a telescope or simply replace the designated optical tube with a specialized ball-head and dovetail mount. However, with a small telescope, the DSLR attaches directly to the mounted telescope with specialized adapters or eyepiece projection systems. However, as the sun moves very slightly during totality, traditional tripods remain cheaper options for those wanting only one or two quick photos.
Two weeks before totality, practicing various mounting options and manual-mode settings on full moon portraits provides crucial preparation for the slight window of capture in late August. New DSLR or manual mode users must gain mastery over changing exposure and aperture over several photos of the same target. To further automate the photography process, DSLRs’ bracketing options automatically take multiple different exposures in a row, a process perfect for full moon preparation shots that require three or so separate exposures to capture all lunar detail, similar to the needs of eclipse photographs. On August 21, short exposures will capture red prominences jetting slightly above the lunar edge while longer exposures capture the solar corona and lunar disk. In September I will post a tutorial on how to combine these several individual exposures in Photoshop, but during the event, shooting many bracketed exposures provides the best insurance of success.
Personally, I hope to craft one standard yet beautiful portrait of my first solar eclipse. After I snap a dozen or so quick exposures, I will set the camera down and stare up in wonder. Perhaps next eclipse I will image the small shimmers of the sun peeking out like a diamond from the moon and the beautiful appearance of Baily's beads, but on the 21st I hope to relax and enjoy the spectacle. With this mindset, I give you my best piece of advice: Do not image this eclipse as if it were your last, but as though it will be the first of many.
Best of luck, clear skies,
Grant Regen

