


The Ultimate Guide to Calibration Frames for Astrophotography
April 9, 2025

Astrophotography is more than just pointing a camera at the night sky and clicking the shutter. If you've ever been puzzled by strange patterns, uneven lighting, or unexpected noise in your images, calibration frames are the key to correcting those issues. When captured correctly, they can dramatically reduce noise, fix uneven illumination, and remove other imperfections that detract from an otherwise stunning shot.
In this guide, you'll learn everything you need to know about calibration frames—light frames, dark frames, bias frames, flat frames, and flat dark frames—including why they matter, how to capture them, and how they improve your final image.
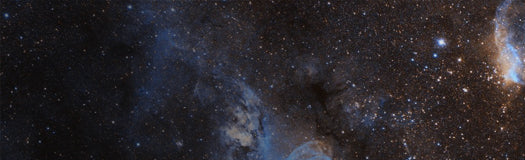
Light Frames
Light frames are your main images of celestial objects. They contain all the valuable signal from your target—but they also include various types of noise and imperfections that need to be corrected. These issues can take many forms; here are some of the most common.

|
How to Capture Light Frames
|
Dark Frames
“Darks” measure the inherent noise in your camera sensor, including dark current and bias noise, by capturing images with no light input. Subtracting them from light frames removes this unwanted noise.

|
How to Capture Dark Frames
|
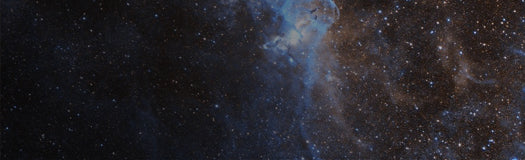
Flat Frames
“Flats” correct for uneven illumination, vignetting, and dust shadows, ensuring a smooth background in your final image.

|
How to Capture Flat Frames
|
Bias Frames
Bias frames are very short exposures (no more than 1 second) taken with the lens cap on. These frames capture pattern noise and read noise your camera generates when it downloads an image. Bias frames measure the sensor’s electronic read noise, helping to remove unwanted artifacts from dark and flat frames. They are critical for calibrating other frames (e.g., darks and flats).

|
How to Capture Bias Frames
|
Flat Dark Frames
“Flat darks” are dark frames taken with the same exposure time as flat frames. They help remove noise and dark current from flat frames. Flat darks are particularly important for long-exposure flat frames, ensuring accurate calibration.

|
How to Capture Flat Dark Frames
|
The Calibration Process
Calibration integrates all these frames to clean up your astrophotography images. The process can be done manually or automatically using image processing software. Here’s how all the frames come together to clean up your images:
- Combine Bias Frames: Create a master bias by averaging all your bias frames.
- Calibrate Dark Frames: Subtract the master bias from your dark frames to remove bias noise.
- Calibrate Flat Frames:
- Subtract either the master bias or master flat dark from your flat frames.
- Combine the calibrated flats to create a master flat.
- Calibrate Light Frames:
- Subtract the master dark from your light frames.
- Divide the calibrated light frames by the master flat to correct uneven illumination.
- Align and Stack:
- Align the calibrated light frames using the stars in the images.
- Stack the aligned frames to reduce random noise and enhance detail.

Automating Calibration with Deep Sky Stacker (DSS)
Fortunately for us astrophotographers, a freeware program called Deep Sky Stacker (DSS) can perform all these calibration steps automatically. Simply load in your light, dark, flat, and bias frames. This is an excellent option for beginners who want a streamlined workflow.
When to Update Calibration Frames and Why It Matters
Capturing calibration frames isn’t a one-time task. You’ll need to update these frames periodically for accurate results. Here’s when and why you should take new frames:
- Change in Equipment: If you switch cameras, filters, lenses, or telescopes, you'll need new calibration frames to match the new setup.
- Environmental Changes: Variations in temperature or humidity can affect camera sensor behavior. This is particularly relevant for dark and bias frames.
- Dust Accumulation: The dust buildup on your optics changes over time. You may need to capture new flats to correct fresh dust shadows. You should also recalibrate after your optics are cleaned.
- Exposure Setting Changes: Adjusting ISO, gain, exposure time, or focus requires new calibration frames.
- Camera Rotation: If you rotate the camera to reframe a target, you should take new flat frames to match the new optical orientation.
- Sensor Performance Over Time: Camera sensors can experience slight changes in behavior over time, so refreshing calibration frames periodically helps maintain accuracy.

Regularly updating your calibration frames is essential to maintaining sharp, accurate images free of unwanted artifacts. For those with a permanent observatory setup, creating a calibration library of darks, flats, and other frames is a convenient option. However, for those who regularly transport their equipment to dark sky locations, where setup and teardown are required each night, it’s crucial to reshoot at least your flat frames. Even small changes to your setup, such as camera rotation or using different filters, can necessitate new flats for the best image quality. Since it's unlikely that you will place the camera in the exact same position or orientation each time, it’s a good idea to make reshooting calibration frames part of your imaging routine.
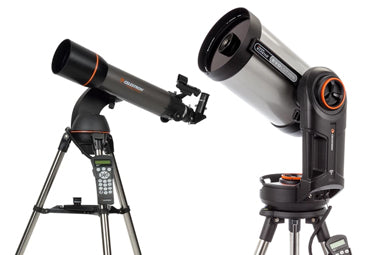
Celestron Origin: Simplifying the Process
If you’re looking for a hassle-free way to get started, the Celestron Origin simplifies everything we’ve covered here. It comes with pre-calibrated settings directly from the factory, eliminating the need to capture and process bias, dark, and flat frames yourself. This all-in-one solution is perfect for beginners or those who want to focus solely on capturing stunning images without worrying about calibration steps.

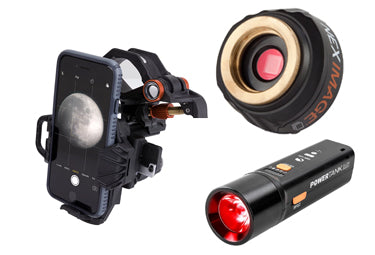
Capturing New Flat Frames for Origin
Any time you rotate the camera, switch to a new sensor, or change optical components, you need a new flat to maintain calibration precision. PrimaLuceLab GIOTTO for Celestron Origin is an intelligent flat field generator that makes it easy to capture fresh flat frames whenever adjustments are made.
Final Thoughts
Calibration frames are the foundation of astrophotography image processing. By using light, dark, bias, and flat frames correctly, you can eliminate noise and optical imperfections, producing crisp, high-quality images of the universe. Whether you use a DSLR or a dedicated cooled astro camera, understanding and applying proper calibration techniques will elevate your astrophotography to the next level. With tools like Deep Sky Stacker, even beginners can effortlessly integrate these essential steps into their workflow. Master calibration, and the universe will reveal itself in stunning clarity.
Clear skies!
